4/26/10 - John Dawson Permanent Link
Did I mention that I love beans? I do, and here is one of my favorite lazy meals that I fancied up a bit last night because the leftover planets were all in alignment.
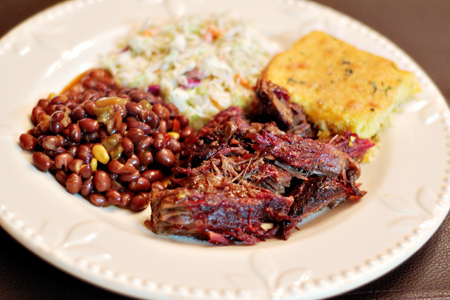
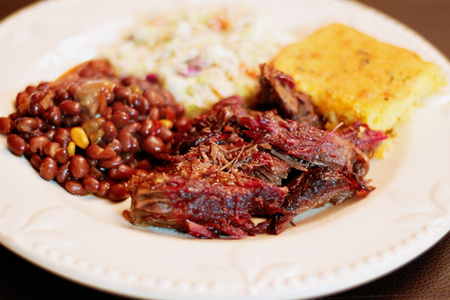
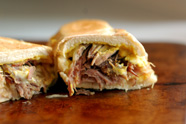
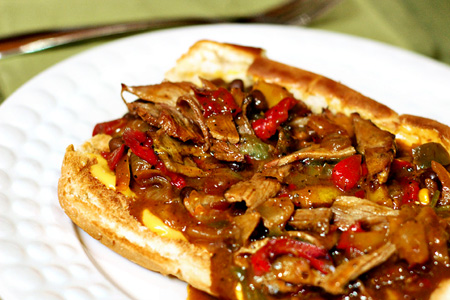
My normal beans on bread typically amounts to some baked beans dumped on some bread and doused with hot sauce of an appropriate variety. On occasion I'll go the beanie weenie route. This time I'm going top-shelf with some leftover tri-tip from Sunday night, some new beans, and sauteed onions and peppers. Oh, and although we're going into tall cotton, we'll keep things well-grounded with a slather of Cheez Whiz.
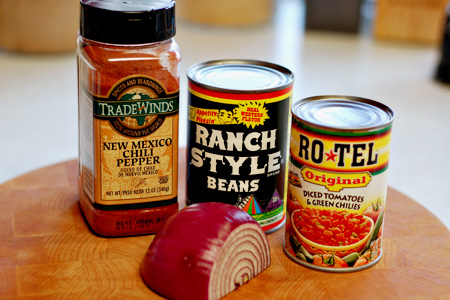
Ingredients
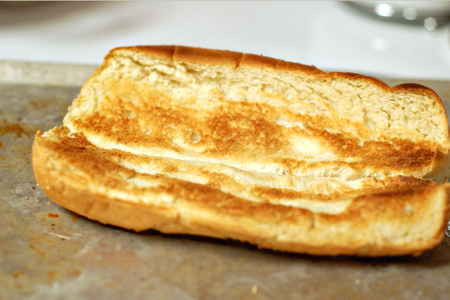
4 Good hoagie rolls
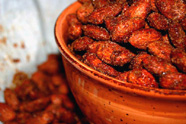
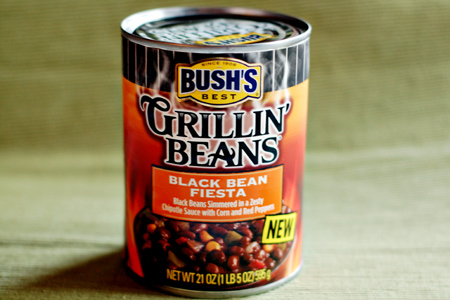
1 can (21 oz) Bush's Black Bean Fiesta, undrained
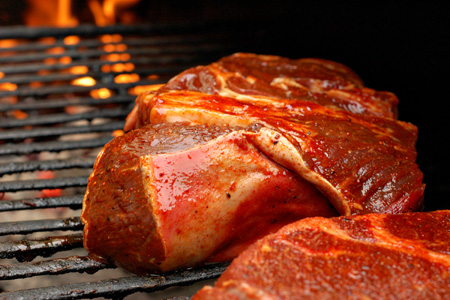
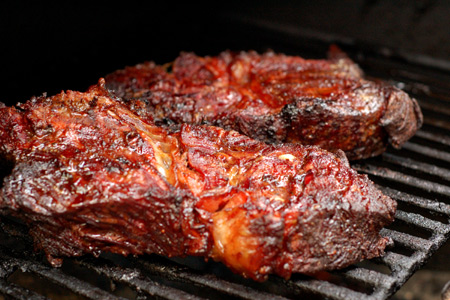
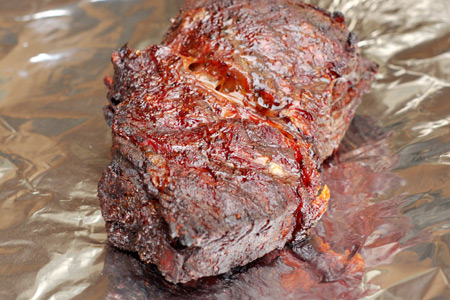
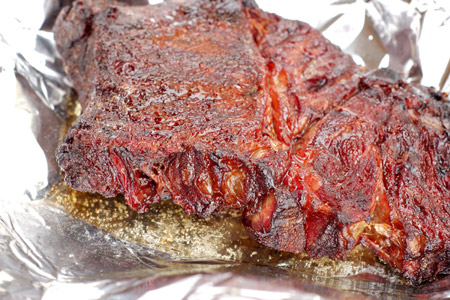
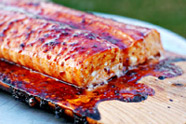
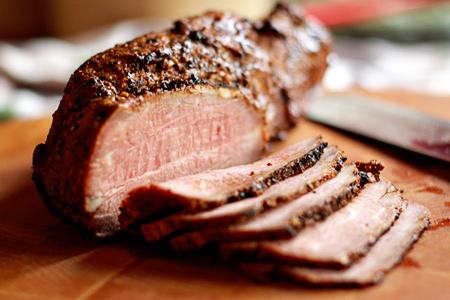
1/2 lb Leftover grilled steak
1 bag (12 oz) Frozen peppers and onions
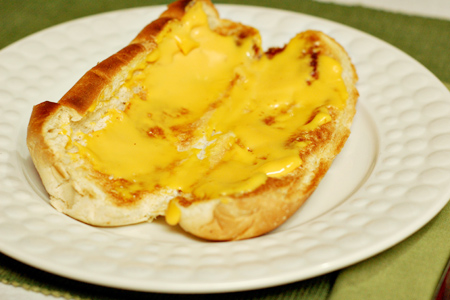
1/2 cup Cheez Whiz
1/4 cup Molasses
1 tsp Your favorite hot sauce
1 tsp Garlic salt
1 Tbsp Oil

Method
Preheat your oven to 350º.
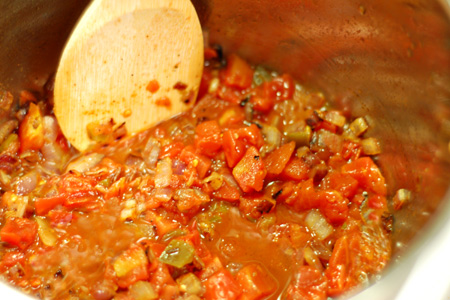
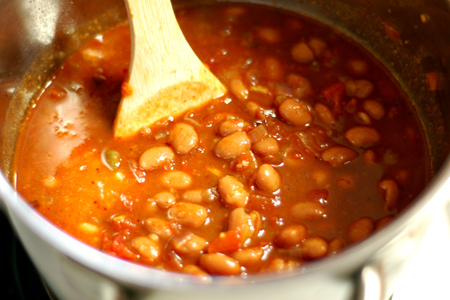
Combine the beans, molasses and hot sauce in a medium sauce pan over medium heat.
Bring the beans to a simmer, uncovered, then reduce the heat to medium-low.
Slice the steak thin, then chop to approximately 3/4" and set aside.
Defrost the peppers and onions in the microwave and drain the liquid.
Heat the oil in a medium saute pan or on a griddle over medium-high heat.
Put the hoagie rolls on your middle oven rack.
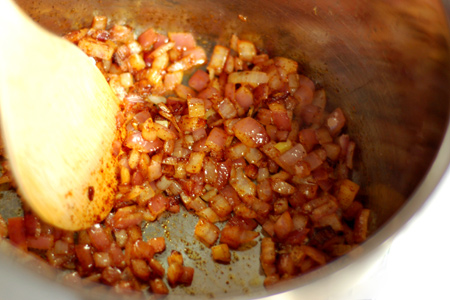
Add the peppers and onions to the pan/griddle.
Season the veggies with the garlic salt and saute until they are just starting to brown around the edges (about five minutes).
Add the steak and the onion/pepper mixture to the beans.
Remove the rolls from the oven.
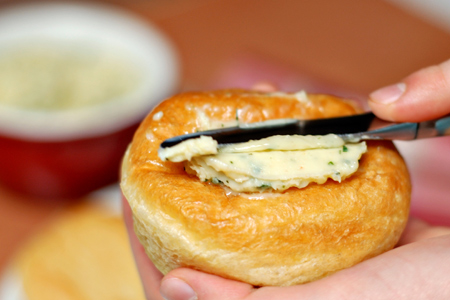
Smear the inside of each roll with Cheez Whiz and put them back in the oven.
Turn the oven to broil for about a minute.
Remove the cheesy rolls from the oven.
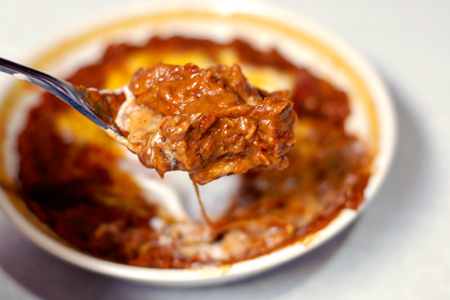
Ladle a good portion of the bean, veggie and steak mixture on the top of each roll.
Serve and enjoy!